
Classroom Display Sizing: Getting Viewing Distance Right Before You Buy
The most expensive specification mistake in classroom AV is a 65-inch panel in a room whose back row is thirty feet away. Here is the geometry, the arithmetic and the point at which a projector is the honest answer.
By Uniqcli Team · · 13 min read · Updated

Key takeaways
- Size the display from the distance to the farthest seat, not from the room's dimensions or the wall you have available.
- A 16:9 display's image height is about 0.49 times its diagonal — so a 65-inch panel gives roughly 32 inches of image height, and that number, not the diagonal, drives the calculation.
- As a first pass, divide the farthest-viewer distance by six for follow-along viewing and by four for reading fine detail to get target image height; AVIXA's DISCAS calculation produces the final number.
- Legibility is the binding constraint, not image size — the real test is standing at the back row with the district's actual worksheet on screen, not a demo slide.
- Past roughly a 16-foot back row for reading detail, panels run out of size — and a projector with a properly sized screen is the honest answer even though it is the less fashionable one.
On this page
Buying Guides
The panel is usually too small, and the room is usually the reason
The most common and most expensive specification mistake in classroom AV is a 65-inch interactive panel installed in a room whose back row sits thirty feet from the wall. It is an easy mistake to make: 65 inches looks enormous in a showroom, it fits the wall, it fits the budget, and nothing about it fails on installation day. It fails in October, when a student in the back row cannot read the worksheet on screen and the teacher stops using the panel for anything except a large clock. This page is the arithmetic that prevents that, and it points at cheaper answers as often as expensive ones.
Size from the farthest seat, not from the room
Display size has an ANSI-recognized standard behind it. AVIXA's V202.01, Display Image Size for 2D Content in Audiovisual Systems — universally shortened to DISCAS — sizes an image from the distance to the farthest viewer and the height of the smallest element of content that has to be legible there. Not from room area, not from wall width, not from the size of the last panel you bought.
DISCAS separates two viewing needs, and the distinction matters more in a classroom than in almost any other room type. Basic Decision Making covers content an audience follows along with — a photograph, a video, a heading, a diagram they are being talked through. Analytical Decision Making covers content the audience has to read and work from: a paragraph of text, a spreadsheet, a worked mathematics problem, a passage the class is annotating. AVIXA assigns each category a different acuity factor, 200 for basic viewing and 3,438 for analytical, which is why the two produce very different display sizes for the same room.
A classroom is almost always doing the second kind of viewing. A student copying a worked example off the board is reading fine detail, not following along. Specifying a classroom against the basic-viewing case is the second-most-common way rooms end up undersized, right behind measuring from the wrong seat.
The standard expresses its result as a viewing ratio: the distance to the farthest viewer divided by the image height. Before DISCAS, the industry used a rule of thumb that divided the farthest-viewer distance by six for basic viewing and by four for analytical viewing to get a target image height. DISCAS replaced that rule with a content-driven calculation, and AVIXA publishes free calculators for it. But the old ratios remain a good first pass for a shortlist, and they are what the table below uses — run the DISCAS calculation before a final specification, and treat these numbers as the sanity check that tells you which sizes are even worth quoting.
The arithmetic, in inches
Displays are sold by diagonal and specified by image height, and the conversion is where most classroom sizing goes wrong. For a 16:9 display, image height is the diagonal multiplied by roughly 0.49. A 65-inch panel is not 65 inches of anything a student looks at — it is about 32 inches of image height and 57 inches of image width.
Once you have the image height, the first-pass distances fall straight out of it. Multiply image height by six for the farthest seat that can follow along comfortably, and by four for the farthest seat that can read fine detail. The table below runs that arithmetic across the sizes a classroom is actually specified in, using the 16:9 aspect ratio that classroom interactive panels are overwhelmingly built in.
Read it in the direction that matters: measure your back row first, then find the smallest size whose analytical-viewing distance covers it. The 65-inch panel is the default classroom size and the one most often installed too far back for the room it is in. A classroom with a back row 20 feet from the wall needs about 60 inches of image height for comfortable reading, which is a 122-inch diagonal — larger than the panel sizes classroom lines are generally stocked in. That is not a reason to give up on the room. It is the point at which the geometry is telling you something useful, and the projector section below is where it leads.
27.0 in of 16:9 image height — first-pass farthest seat about 13 ft for follow-along viewing, about 9 ft for reading detail
31.9 in of image height — about 16 ft follow-along, about 11 ft for reading detail. The default classroom size
36.8 in of image height — about 18 ft follow-along, about 12 ft for reading detail
42.2 in of image height — about 21 ft follow-along, about 14 ft for reading detail. The largest size most classroom panel lines carry in volume
48.1 in of image height — about 24 ft follow-along, about 16 ft for reading detail. A steep price step and usually a special order
78.0 in of image height on a projection screen — about 39 ft follow-along, about 26 ft for reading detail, at a fraction of a large panel's cost
Legibility is the binding constraint, not image size
The reason DISCAS is content-driven is that the eye does not resolve a display, it resolves the smallest element on it. AVIXA's reference table pairs each viewing ratio with a minimum element height expressed as a percentage of image height — running from roughly half a percent of image height at very short viewing ratios up to about five percent at a ratio of ten. In plain terms: the farther back the last seat is, the larger every character on screen has to be, as a fraction of the picture.
That fraction is easy to lose track of, because content authoring happens in a completely different unit. A standard presentation slide is 7.5 inches tall. Displayed full-screen on a 65-inch panel with 31.9 inches of image height, it is magnified about 4.25 times. So 24-point body text on that slide occupies roughly an inch and a half of type body on the wall, of which the actual letter height is meaningfully less depending on the typeface — and 18-point text, an entirely ordinary size in a worksheet, comes in just over an inch. On a 55-inch panel the same slide is magnified only 3.6 times. On the 159-inch screen in the table, 10.4 times.
This is why the only test that settles the question is the one nobody wants to run: put the district's real content on the candidate display, at the real font size, and stand at the actual back seat. Not a demo reel, not a vendor slide authored at 44 point. The math worksheet, the reading passage, the spreadsheet from the CTE class. If it is not readable there, the display is too small, the content has to be authored larger, or the back row has to move — and all three are cheaper to discover before the mount goes on the wall.
One consequence worth stating plainly to anyone specifying a room: authoring standards are a legitimate part of a display specification. A district that agrees a minimum on-screen font size for classroom content can often specify one size smaller across a whole building, and that is a real number of dollars.
Mounting height, and the two forces that pull it in opposite directions
Sizing decides what to buy; mounting height decides whether it works. DISCAS handles this with an image-offset input — the position of the bottom of the image relative to a seated viewer's eye height — and the reason that input exists is the third row of a classroom. If the bottom of the image sits below the seated eye line of the students in front, the students behind lose the bottom of the frame to a row of heads, which is exactly where a presenter puts the answer.
That argues for mounting high. Two things argue for mounting low. The first is neck angle: a display mounted so the top edge is well above eye level makes the front row look steeply upward for an hour, and front rows are where the students who need the board most are usually seated. The second applies only to interactive panels, and it is the one that catches districts out — an interactive surface has to be reachable. A panel mounted for sightlines is frequently a panel a shorter student, or a student using a wheelchair, cannot write on. The 2010 ADA Standards set a 48-inch maximum unobstructed high reach for operable parts on an accessible route; whether a given interactive display is treated as an operable element is a design and compliance question for your architect or accessibility officer, but it is a question worth asking before the mount is ordered rather than after.
The practical resolutions are few and all of them are decisions, not accidents. Use a height-adjustable or electric-lift mount where the room does interactive work — it is a line item, and it is the only answer that satisfies both constraints. Accept a fixed height biased toward reach in elementary rooms and biased toward sightlines in lecture-style secondary rooms. Or use a projected image, where the frame can sit high without a reach requirement because nobody touches it.
Whatever is chosen, resolve it in the room with a tape measure and a chair, not on a drawing. Seated eye heights in a first-grade room and a high-school room are different enough to change the answer, and a district that installs one mounting height across every building will get one of the two wrong.
When the honest answer is a projector and a screen
Panels win most classrooms. They are bright enough for rooms with poor blinds, they need no consumables, they carry the touch layer natively, and they need no ladder visit. All of that is true, and none of it changes the geometry.
The geometry says this: interactive panel lines run in volume to 86 inches, with 98 inches available as a steep step up — an LG CreateBoard 98-inch unit lists at around $6,700 in our catalog against roughly $1,860 for the 86-inch model in the same line, and the 98 is typically a special order while the 86 shows in stock. An 86-inch panel covers a back row about 14 feet away for reading detail. A great many classrooms, and nearly every cafeteria, library, lecture hall and multipurpose room, have back rows well beyond that.
Past that point projection is not the compromise, it is the correct specification. The cost comparison is stark in the district's favor: a Da-Lite Wireline Advantage 159-inch electric screen — 78 inches of image height, 16:9, recessed or in-ceiling — is about $244 in our catalog and shows in stock, and a 4,000-lumen 1080p projector such as the ViewSonic PA503HD is about $717 and also in stock. Under a thousand dollars of hardware produces nearly twice the image height of the $1,860 86-inch panel, and roughly two and a half times that of a 65-inch one. The same room specified as a panel simply cannot be specified at all.
The trade-offs are real and should be written down rather than discovered. Ambient light is the first: a projected image in a room with a south-facing window wall and broken blinds will disappoint, and that is a blinds problem before it is a projector problem — cost the blinds. Touch is the second: if teachers annotate on the surface, a panel is the direct answer and interactive projection is a workaround. Service is the third: laser illumination has removed most of the lamp-replacement burden that made projectors expensive to own, but a ceiling-mounted unit still needs a ladder for filters and alignment.
And do not project onto a painted wall or a whiteboard. A whiteboard's gloss is the worst common surface for it, producing hot-spotting and washed-out contrast, and the screen is the smallest line on the quote. Choose the screen at the same time as the projector, from the image height the table above tells you the room needs — not from what fits between the door and the cabinet.
Resolution, briefly, because it is the wrong argument
Resolution is where display conversations go when they have run out of geometry. It matters, but not in the way the sales conversation implies.
Resolution sets how fine a detail the display can render. Distance sets how fine a detail the eye can resolve. In a classroom the eye is almost always the limiting factor, not the panel, which means a larger 1080p image usually outperforms a smaller 4K one for the student in the back row — the extra pixels are being spent on detail nobody at that distance can see, while the missing inches of image height are the thing actually failing.
The place 4K earns its keep is close viewing and dense content: a small-group space, a CTE room where students work at the surface, a screen displaying code or CAD. Most current classroom panels are 4K regardless, so this is rarely a purchase decision — it is a reason not to let resolution substitute for size in the specification.
Measure these first
- Distance from the display wall to the farthest student seat, measured in the room, not from a floor plan
- Distance to the closest student seat — very short front rows constrain the top size as well
- Whether the room's dominant content is follow-along or reading detail, decided honestly
- Seated eye height for the age group that actually uses the room
- Whether teachers will annotate on the surface, which forces the reach question
- Window orientation and the state of the blinds, checked at the time of day the room is used
- Available wall width and the position of existing whiteboards, sockets and data outlets
- Ceiling height and structure, for both a panel mount and a possible projector mount
- A real district worksheet at its real font size, viewed from the back seat of a comparable room
- Minimum on-screen font size the district is willing to standardize on for classroom content
- Whether a height-adjustable mount is required, and whether it is in the budget
- The same measurements repeated for each room type — a library and a classroom are not one specification
Both branches of the sizing verdict
SMART Technologies
SMART Board MX065-V5 Collaboration Display
$2,964.32Back-orderedEpson
Epson PowerLite 800F 3LCD Projector
$3,248.91In stockEpson
Epson ES3000 80" Manual Projection Screen
$359.35In stock
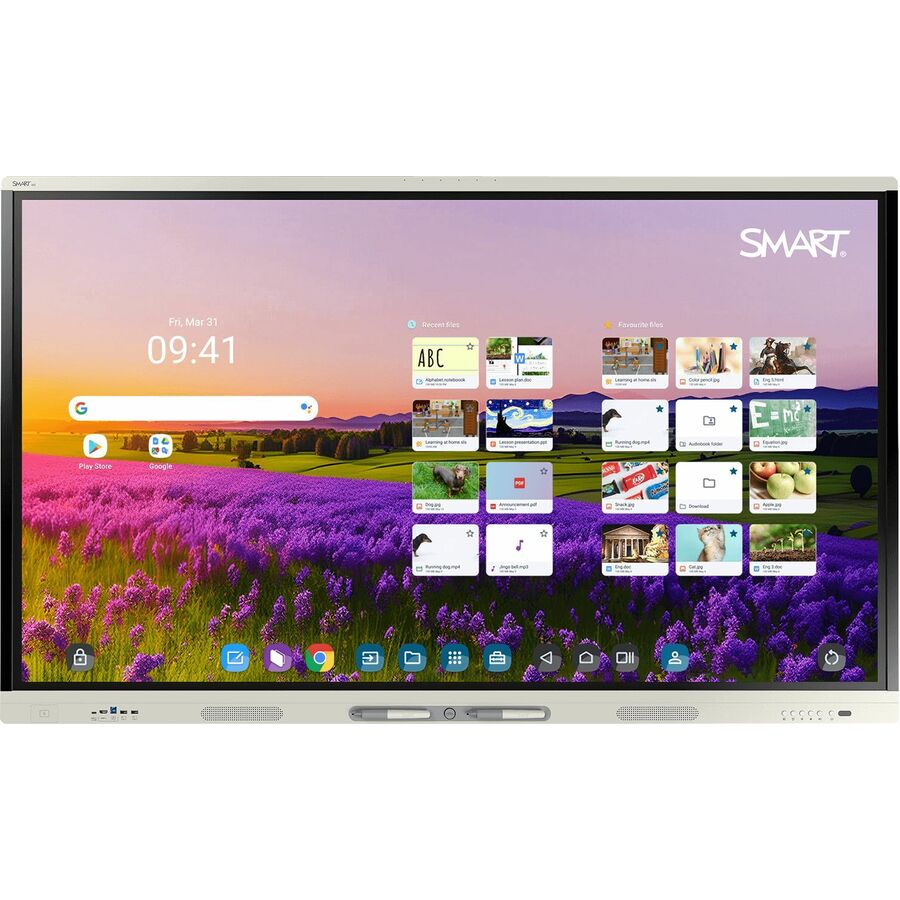
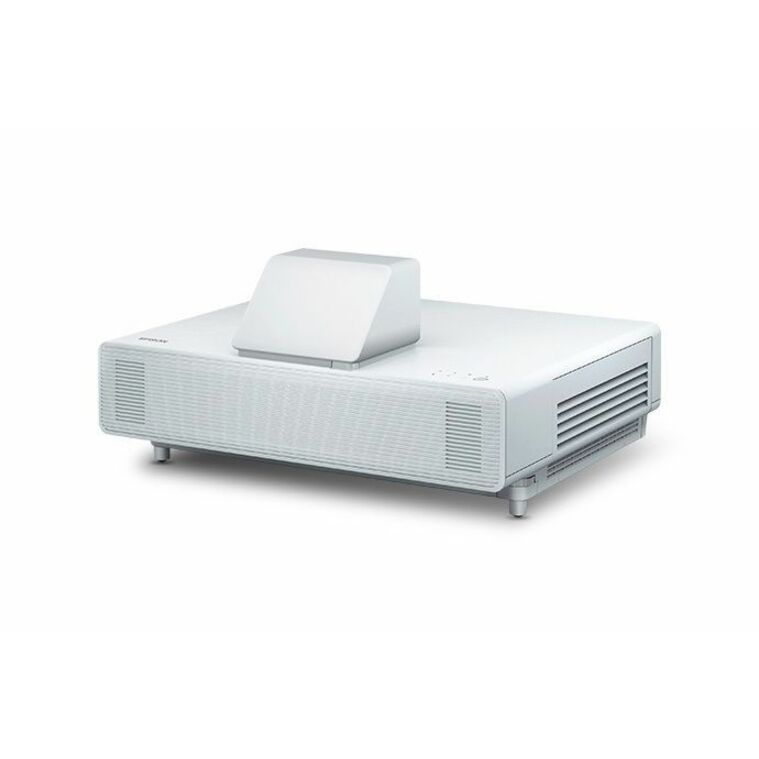
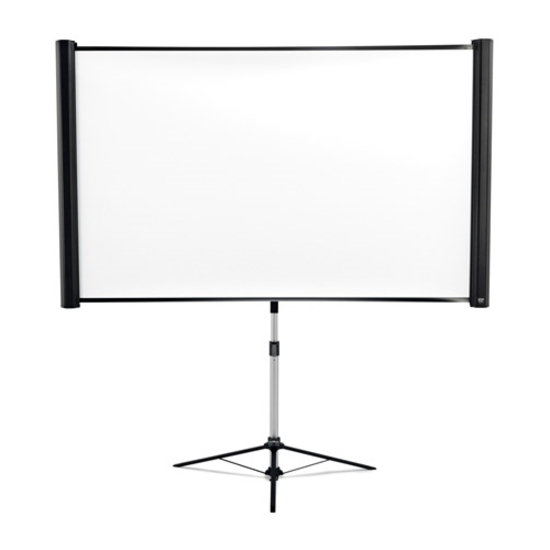
The arithmetic above ends in one of two shapes — an interactive panel sized to the farthest seat, or a projected image once the room is deeper than any panel that fits the wall can serve — so both branches are here, along with the surface the projected one needs and budgets routinely leave out. Run the DISCAS calculation against your own measurements before treating any of these as the right size for a specific room; sizes, prices and availability are read from the catalog when this page renders rather than written into the article.
The displays, the screens and the room around them
Interactive flat panel displays
What the category actually includes, the touch technologies behind it, and what an interactive panel adds over a large monitor.
Ultra short throw projectors
Why UST exists — shadow and glare at the board — and where it belongs in a classroom instead of a ceiling mount.
SMART Board displays
Live pricing and stock across 55 to 86 inches, so the size the geometry produced can be costed immediately.
ViewSonic ViewBoard displays
The ViewBoard interactive line with live pricing, from 65 inches up.
LG CreateBoard displays
CreateBoard collaboration displays including the 98-inch step, priced live.
Projection screens
Fixed, electric and in-ceiling screens — where a projected image gets the height a panel cannot reach.
Specifying a room end to end
The companion piece: distribution model, sources, switching, cable schedule and commissioning for a single classroom.
Education hardware overview
How display specification connects to the rest of the district stack — network, devices, charging and support.
Frequently asked
What size interactive panel should a standard classroom have?
It depends entirely on the distance to the back row, which is why there is no single answer. As a first pass, a 65-inch panel serves a back row up to about 11 feet away for reading detail, a 75-inch to about 12 feet, and an 86-inch to about 14 feet. Measure the room before you pick a size — a typical 30-student classroom with rows rather than tables often has a back row past 20 feet, which no panel in general production reaches.
Is the old 4/6/8 rule still valid?
As a shortlist filter, yes. Dividing the farthest-viewer distance by six for follow-along viewing and by four for reading detail gets you to the right two or three display sizes quickly. It was superseded by AVIXA's DISCAS standard, which calculates from the actual size of the content elements rather than assuming them, and a final specification should be run through DISCAS. Use the rule to decide what to quote; use the standard to decide what to buy.
Can a bigger screen fix content that is authored too small?
Only to a point, and it is the expensive way to solve it. Legibility depends on element height as a fraction of image height, so doubling the display size doubles the character height — but a district that agrees a minimum on-screen font size for classroom material can often specify one size smaller across an entire building. Do both: size the display honestly, and set an authoring standard.
How high should a classroom display be mounted?
High enough that the bottom of the image clears the seated heads in front of the back row, and low enough that the front row is not looking steeply upward — and, for an interactive panel, low enough that students can reach the writing surface. Those pull against each other, which is why height-adjustable mounts exist and are worth the line item in rooms that do interactive work. Resolve it with a tape measure in the actual room and the actual age group, and raise the accessible-reach question with your architect before the mount is ordered.
When does a projector beat an interactive panel?
When the room needs more image height than a panel can deliver — practically, once the back row passes roughly 14 feet for detailed reading, and certainly in cafeterias, libraries, lecture halls and multipurpose rooms. A 159-inch screen and a bright 1080p projector cost well under a thousand dollars in our catalog and produce nearly twice the image height of an 86-inch panel. The reasons to stay with a panel are ambient light, a touch requirement and freedom from ladder visits — all legitimate, none of them geometric.
Does 4K matter in a classroom?
Less than size does. Resolution sets how fine a detail the display can render; distance sets how fine a detail a student can resolve. At classroom viewing distances the eye is the limit, so a larger 1080p image usually reads better than a smaller 4K one. Most current classroom panels are 4K anyway — the point is not to let resolution be offered as a substitute for image height.
Send the measurements, get the sizes that actually fit
Give us the back-row distance, ceiling height, window orientation and whether the room needs touch, room type by room type, and we will quote the display sizes the geometry supports against live stock — panels where they reach, projector and screen where they do not, mounts costed either way. Quoted orders never require payment up front.