
Compact GPU workstation fit: check the card, cable and enclosure
Create a purchase record for the exact GPU, chassis, slot and power path, then accept the assembled system against its supported configuration and workload.
By Uniqcli Team · · 6 min read
Key takeaways
- A single-slot card can still need substantial height, length and power-connector space.
- Approve the exact card and PSU cable part numbers, not a family name or connector appearance.
- Accept the installed workload with the enclosure in its supported configuration before repeating the build.
On this page
Fit is a three-dimensional purchasing requirement
Compact workstations expose assumptions that a roomy tower can hide. A GPU may fit the nominal card-length limit while its power lead collides with a panel. A cooler may occupy an adjacent slot that another device needs. A power supply may have enough rated output yet lack the approved cable for the exact board. Resolve these interfaces while the bill of materials is still changeable.
Start by naming the intended application and the supported workstation configuration. For a vendor-built system, consult its approved graphics options and service documentation before planning an aftermarket change. For a custom build, assign responsibility for the combined motherboard, case, power supply, GPU and cooling design. Component specifications are necessary evidence; they do not automatically establish support for the assembled system.
Use this worksheet for physical and electrical fit, then verify the intended workload during a controlled pilot. It does not rank GPUs by benchmark score or declare that an arbitrary small enclosure is suitable for a particular card.
Freeze exact parts before measuring
- Graphics card
- Manufacturer, full orderable SKU, board revision if relevant, height, length, thickness, bracket type, power connectors and published board-power specification.
- Platform
- System or motherboard model, BIOS version, supported GPU evidence, PCIe slot/lane allocation and any approved riser.
- Enclosure
- Exact case revision, installed drive cages, fans/radiators, card retention hardware, side panels and documented GPU limits.
- Power supply
- Exact model/revision, rated capabilities, vendor system guidance, required connectors and approved cable part numbers.
- Other occupants
- Expansion cards, internal cables, storage and cooling components that share space, lanes or airflow.
- Operational target
- Application/version, required output/display arrangement, representative workload, installed location and acceptance owner.
Read the complete board identity
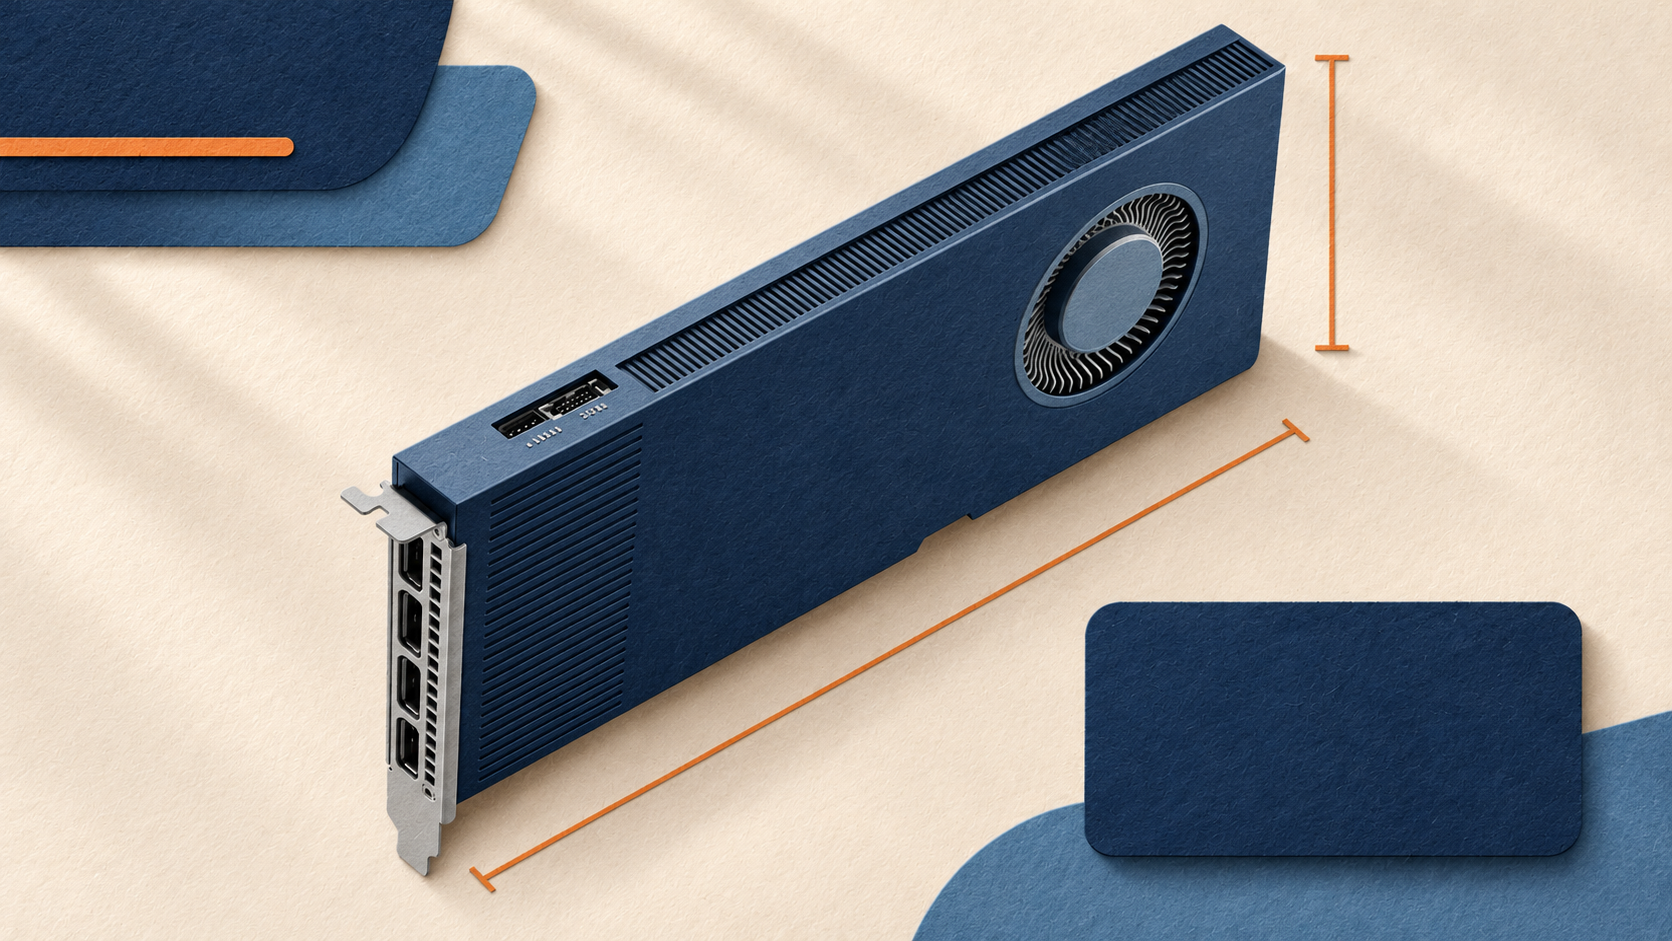
Similar product names can conceal different physical designs. PNY's RTX PRO 4000 Blackwell documentation for the full-height card identifies a 4.4-inch height, 9.5-inch length, single-slot form factor, 140-watt maximum power consumption and one PCIe CEM5 16-pin power connector. Those are properties of that documented board, not a universal description of every card containing “4000” in its name.
Record the manufacturer document next to the quoted SKU. Confirm whether dimensions include the bracket or other protrusions and what the case manufacturer's limit actually measures. If either is ambiguous, ask for a drawing or support confirmation. Do not infer low-profile compatibility from a single-slot cooler: bracket height and occupied slot width are different dimensions.
Check the intended display arrangement at the same time. The number and type of physical outputs, approved adapters and the application's display requirements belong in the configuration record. A successful compute test does not prove that the user's actual monitors and cables will behave as required.
Measure the installed space and service path
- Length
- Measure the supported card path with planned front fans, radiators, drive cages and cables installed; retain a dimensioned photo or drawing.
- Height and bracket
- Confirm the bracket type and room above the board, including the power connector and its specified cable route.
- Thickness and neighboring slots
- Check cooler/shroud intrusion, adjacent devices, slot covers and access to any required retention mechanism.
- Cable entry
- Identify the exact connector orientation and manufacturer-required clearance, bend and seating instructions; unresolved clearance remains a hold.
- Installation and removal
- Confirm the card and plug can be installed and serviced through the intended openings without forcing parts or altering the chassis.
- Cooling path
- Document inlet/exhaust placement and the completed panel/fan arrangement required by the component and chassis manufacturers.
Use the manufacturer requirements for the actual parts. There is no universal extra-clearance number that approves every GPU connector, cable and case.
Approve the whole power path
Treat GPU board power as one input to platform planning. The processor, memory, storage, fans and other devices also draw power, and system or GPU vendor guidance may impose requirements beyond adding nominal figures. Use the relevant vendor recommendations and supported configuration evidence rather than multiplying GPU power by a universal factor.
Check the connectors and cables independently of total wattage. CORSAIR explains that modular PSU cables are specific to supported power-supply families and that even same-brand replacements require compatibility checks. A connector that physically fits the PSU does not prove its wiring is appropriate. Record the exact approved cable, adapter if explicitly supported, and supply model in the bill of materials.
Follow the component instructions for seating, retention and cable routing with power disconnected as required by the installation procedure. Do not substitute an unknown modular cable, force a connector against the side panel or modify the PSU. If the supported route cannot be achieved with the selected parts, revise the parts list before acceptance. An attractive chassis size is not a reason to bypass its installation requirements.
Worked example: a length check that is still unresolved
Hypothetical example: a team considers the documented 9.5-inch PNY board for a compact build. Converting that length gives 241.3 millimeters. The measured straight-line card space with the intended front fan installed is 245 millimeters, leaving 3.7 millimeters in that dimension. The team records the arithmetic but does not mark the system “fits.”
It still needs evidence for bracket height, power-connector location, the manufacturer's cable clearance, retention hardware and the actual installation path. A side-panel interference discovered in the drawing review leaves the configuration on hold. The buyer selects an enclosure or board/cable arrangement with documented compatibility instead of planning to bend a panel or remove required support hardware.
The measurements are invented to show the decision process, and no minimum clearance is being recommended. A different board revision, case configuration or cable can change the result. Keep the precise dimensions and assumptions with the quote so a substitution returns to the relevant checks.
Accept the assembled workload
After qualified installation, compare the received components with the approved bill of materials. Photograph the supported cable route and retained hardware before closing the enclosure. Record BIOS, driver and application versions and verify that the expected device and link configuration are recognized. Investigate unexpected lane allocation using the motherboard/system documentation rather than assuming the longest slot provides every lane to every device.
Run the representative workload with the panels and cooling configuration in their intended operating state. Define duration and pass criteria with the application owner: correct output, stable operation, acceptable completion time and required display behavior. Observe manufacturer-supported telemetry and limits, and record the actual room conditions and system configuration. A brief successful launch is weaker evidence than the task the user will perform.
Keep observed temperatures, fan behavior, power readings where appropriately measured, errors and any performance changes with the run record. Do not convert one pilot into a guaranteed temperature or performance claim for every deployment. If output is wrong, the system reports faults, or a vendor limit is exceeded, stop and resolve the cause before approving repeat purchases.
Finally, check serviceability at the intended location. The team should be able to identify the correct cable, access the documented release mechanism and replace the unit without discovering an undocumented enclosure modification. That operational record is part of what purchasing receives at handoff.
Release the repeatable configuration
- Attach exact SKUs, manufacturer drawings, support evidence and the approved cable/accessory list.
- Record fit results with the final fan, storage, panel and expansion-card arrangement.
- Retain workload results, software versions, environmental observations and application-owner approval.
- List any unsupported combination or unresolved dimension as a hold rather than an assumed fit.
- Review substitutions in the GPU, case, PSU, cable, riser or cooling arrangement before repeating the build.
Does single-slot mean low-profile?
No. Slot thickness and bracket/board height describe different dimensions. Check both for the exact card and case.
Can I reuse a modular PSU cable when the plug fits?
Use the power-supply manufacturer’s compatibility evidence for the exact models and cable type. Physical fit alone does not establish the correct wiring.
What extra space should I leave for a 16-pin connector?
Use the connector, cable and GPU manufacturer requirements for the chosen parts and routing. Do not apply an unsupported universal distance to every configuration.
Sources
Compare the exact workstation graphics options
Use the buying guide to build a candidate list, then attach each board’s documented dimensions and power requirements to this fit worksheet.